In Part I: Research and Design we talked about getting the initial ideas onto a concrete digital form. In this part, we will continue and talk about adding interaction and deploying it for users to enjoy.
4. Functional Prototype (Day 15–45)
It is now time to build the first functional prototype and test if our design really does make it easy to log a workout.
Looking at the mocks and requirements it appears we can test our assumptions by building a web app. This means we don’t need to submit to the App Store or Android Play Store and there is no review process to worry about. It will also allow us to test design variants using Heroku Pipelines. As an added bonus, the app will work any device and we won’t need to build separate versions of it to target each platform.
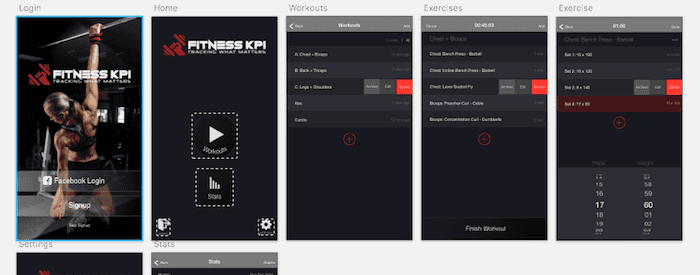
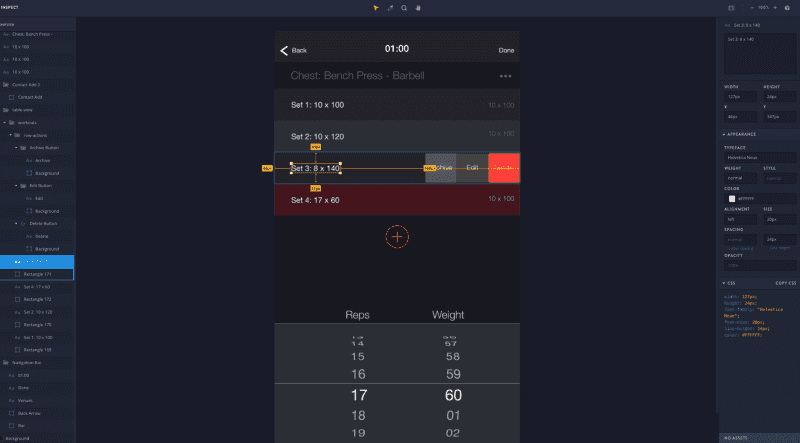
Before we start building the prototype it would be good to clean up the mocks and create consistent margins/padding. Using Powers of 2 like 4, 8, 16, 32, 64, 128 and multiples of 2 like 6, 12, 20, 24, 48, 72 when we need sizes in between, works well when adding up sizes (this will ensure you don’t get odd spacing like left 3px and right 4px).
Remember we will be using InVision Inspect to take a look at the sizes, fonts and colors in the mock and try to match them as close as possible when building those screens. It is a tedious but important process (that will someday be automated) as we will be building upon it, so it is important to keep things tidy and organized.
Research Technology Stack (day 16)
We will leverage our existing knowledge in our default stack. However, we will also spend a day to see if there are any other technologies out there that might be better suited for what we are trying to build.
Our default stack:
Frontend:
Material UI — library with common User Interface components React Redux Redux-CRUD — makes talking to a Rails API easy React-Redux-Starter-Kit — starting template for new projects
Backend:
Ruby on Rails Postgres DB ActiveAdmin — admin interface to help with support tasks and modifying data by non-programmers Heroku & Heroku Pipelines — hosting platform for our application and an easy way to create experimental designs
We use two starting templates, one is the default Rails application setup the other is https://github.com/davezuko/react-redux-starter-kit (we use our own custom fork, soon to be released :)).
Development Environment and Project Setup (Day 17)
We will create two repositories on Github:
fitnesskpi-frontend
fitnesskpi-backend
We will also create 4 heroku applications
fitnesskpi-frontend-production
fitnesskpi-frontend-staging
fitnesskpi-backend-production
fitnesskpi-backend-staging
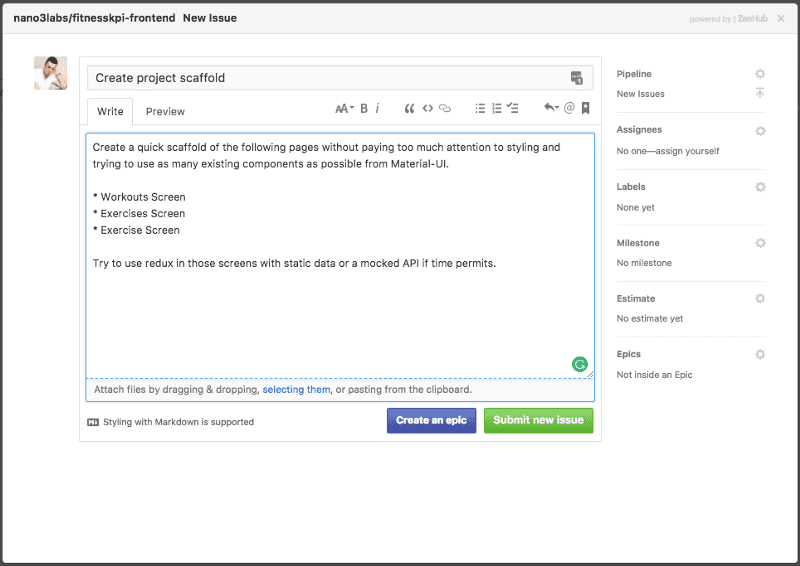
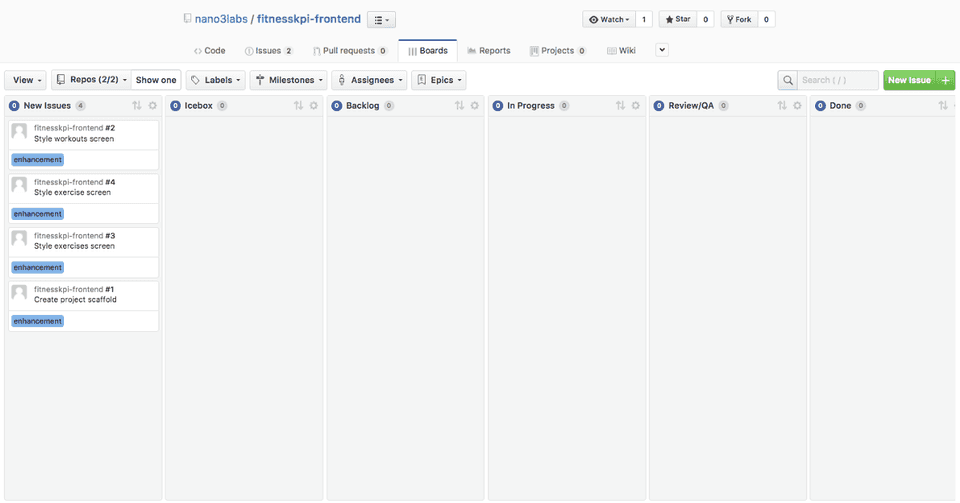
Next we will setup our project management tasks using ZenHub and create a task to scaffold the frontend.
Scaffolding (Day 18)
Scaffolding means building a few screens and connecting them to get a feel for the organization of the project and start creating more surface area for other team members to attack.
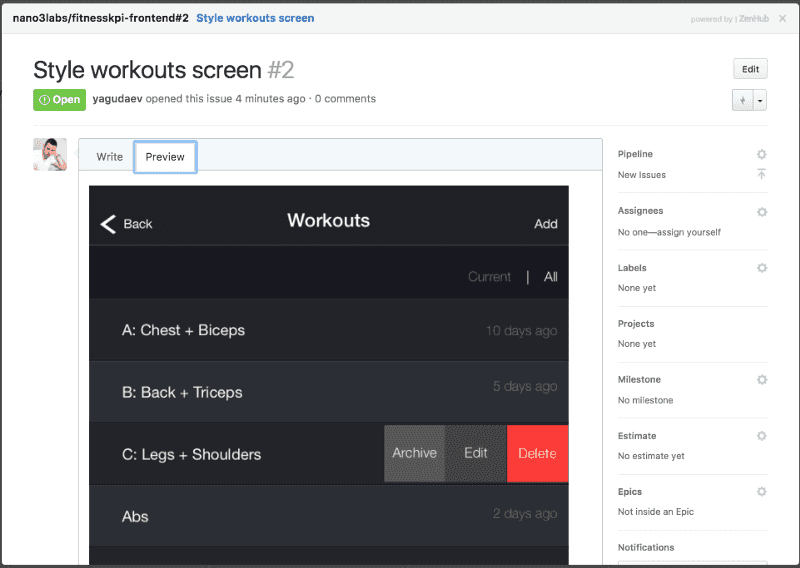
We will then create an issue for each screen and use the live embed tag to add an image of the screen right in the issue.
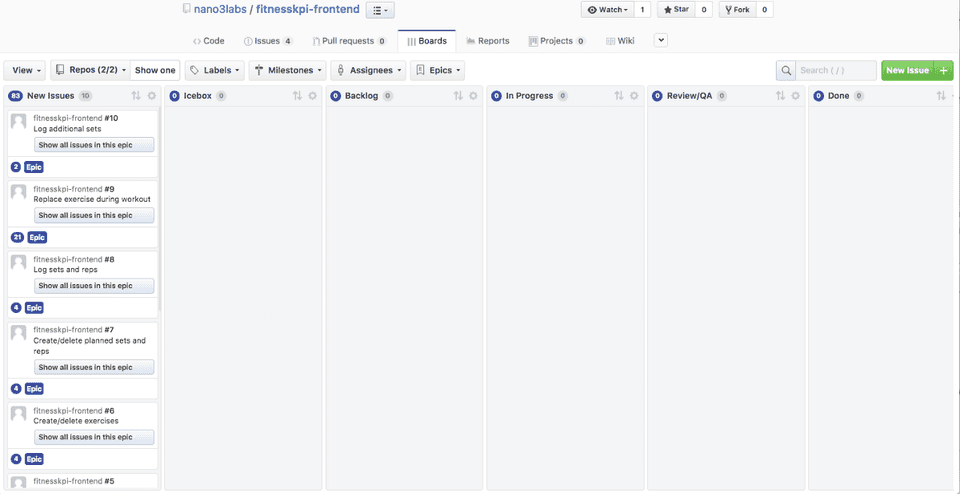
Next we can define all the user stories these screens address as epics. For example, “a user should be able to create/delete workouts”. The reason for that is the user stories might span multiple screens and tasks. We can then think of all the tasks that need to be completed to complete an epic story.
Finally we can go over the tasks and user stories and assign estimates to them. Those will symbolize the worse case scenario number of hours required to complete. These are only very rough numbers and do not account for revision and review of the deliverables. They are intended to give us approximate timelines and nothing more.
I recommend you Visit the project on Github and see for yourself (make sure to download ZenHub first).
Now we can move all the issues to the backlog and organize them based on priority from top to bottom. We can see they will take about 2-weeks to complete if we only had one developer working on them.
Therefore, we schedule a time to come to FitWorld in 3-weeks and complete a workout at the gym, giving us 1-week buffer just in case. This will be our chance to find out what really matters and figure out the next items of priority. Did we nail the user experience? Is it easy to use while at the gym? Will we keep using it? What else is it missing before it is useful and can be released?
Three weeks pass, most of the features have been completed. There are a few bugs and things still bother us, but we feel ready to try it out at the gym. After our scheduled workout session, we come back to the office and write down what we discovered during the user testing session. We will focus on things that didn’t work and try to come up with ideas to improve them and create tasks for that. This will begin a new cycle of research, prototype and measure and learn. We keep iterating on the feature until we feel it is production ready and only then we start working on the next feature set.
To build a quality product, geared for success we keep the following things in mind: - Code Review Pull Requests — all code that end-up in the product should always have at least 2 sets of eyes on it to reduce the defect rates. This is a form of quality assurance. - Heroku pipelines — we test every pull request using heroku pipelines as part of the code review process before it is merged. - Continue building mocks and keep them up to date with development - Developers can make modifications to the design if they feel they have a better idea. They need to convince the Project Manager the idea is better or validate it through user testing or A/B testing - Test driven development — we write automated tests as we build the product. We use CircleCI for continues integration testing to automatically test each pull request.
Visit the project on Github and see for yourself.
5. Production (Month 3–Year 10)
After the initial development phase is done and we are ready to release the product to a larger audience there are a few things we need to add.
Setup Tracking (2 days)
- Analytics — Mixpanel or Ahoy + ActiveAdmin for tracking user events. We want to know what features users use and how they use them
- Error Tracking — Rollbar we want to get a message when things go wrong for our users and enough information to be able to fix it.
- Server Performance Monitoring — NewRelic we want to know when things are slow and what we can do to speed up things for the users.
Maintenance
Maintenance costs are often forgotten when the initial budget for a project is set. Regular maintenance like bug fixes, software and security updates are needed to keep the software running and operating smoothly. You wouldn’t expect your car to run without replacing the oil, breaks and other parts on a regular basis would you?
Scaling
When an app reaches a certain amount of users we need to tackle the engineering challenges it presents. The app will get slower with the more data, traffic and features that are added to it. This is typically a good problem to have since it means a lot of people are using the app!
— — —
If you enjoyed this post, please like it and recommend it to others. If you follow a different recipe please share it with us in the comments below.
Feel free to drop us a line at hello@nano3labs.com to chat about your project or if you feel like grabbing a real or virtual beer with us.

