 Photo by Johannes Plenio on Unsplash
Introduction
This past weekend, I decided to explore .net’s Blazor. I’ve heard a lot of good things about the Entity Framework and had a great time playing with LINQ years ago. When I heard about Blazor, a C# web assembly library, it blew my mind how much it seemed to do for you.
Not only does blazor offer the ability to write C# client-side code with access to the DOM and Javascript functions, there is an ecosystem of full-stack component libraries. It seemed to represent the future of the web I always wanted. A collection of end-to-end fully integrated solutions to product level problems. Want a table full of customer data? No problem, render the table component and bind the users data to it. Want to show a full calendar-view based on events in your database? No problem, just use the calendar component and specify the event model.
I had to try it.
Getting Started
Getting started was a breeze, I simply followed the official guide. To my surprise, a fully capable CLI greeted me with open arms (or open args?). The CLI was the official way of getting started. The code itself was also quite elegant, just take a look below.
@page "/counter"

<h1>Counter</h1>

<p>Current count: @currentCount</p>

<button class="btn btn-primary" @onclick="IncrementCount">Click me</button>

@code {
    private int currentCount = 0;

    private void IncrementCount()
    {
        currentCount++;
    }
}
At a first glance, this reminds me of Vue.js or Alpine.js. It is easy to see what is going on as all related code is in the same file, instead of being spread across different files.
Blazor uses a component-oriented architecture in .razor files. Razor is a templating language similar to ERB. It encapsulates the related C# behaviour right in the view. It also allows for creating components that can be rendered on the client or server. You can even call javascript functions straight out of there if you need to (useful when integrating with 3rd party lib). I wish we had all of that for view_components in rails, instead we are forced to create js, rb and erb files.
Next the file structure Pages/Index.razor was clear and simple with enough structure to know where each file type goes. Like rails, dot net offers a scaffolding tool that generates all of these for us.
Setting Up Tooling
After I was done with the basics, it was time (according to the tutorial) to download Visual Studio for Mac. Once again, it went by extremely smoothly. At the end of the process, it even asked if I wanted to use all my favourite shortcuts from VSCode (talk about great onboarding).
Next it was time to setup my VIM emulator (can’t do real coding without it, right?). It was a bit of a struggle to install one of the Visual Studio VIM plugin. Turns out there is a difference between Visual Studio and Visual Studio for Mac. Thus you needed a plugin for Visual Studio for Mac specifically. I found and installed one using mono’s addons section. Mono is the runtime for .net for Linux and Mac, so we need that.
Deployment
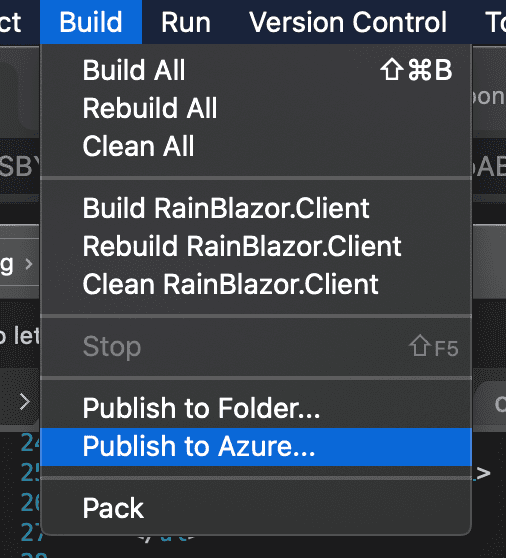
How do I deploy? I asked myself. Well, after signing up for an azure account and signing into Visual Studio as that same user, it was a one click deploy. Yes, you heard me right, one click. Beat that heroku!
Receiving/Sending Data
One thing that wasn’t clear from the example was how to send data between the client and the server.
I decided to try a websockets API microsoft calls SignalR, as it seems to already be used in Blazor. I used a chat building tutorial to help me understand how it works. The first thing I noticed is the CLI command being different than before. Instead of
dotnet new blazorserver -o BlazorApp --no-httpsWe had
dotnet new blazorwasm --hosted --output BlazorSignalRAppTurns out, there are two versions of blazor. One version that was released earlier, called blazorserver and another called blazorwasm -- web assembly. Blazor server renders all components on the server-side and uses diffs sent over websockets to update the browser state. It is similar to how Stimulus Reflex works.
Blazor wasm uses web assembly to let you write client-side code in C#. It can then be compiled and deployed to any platform as a static website. It is a great option for client-side only logic, for example when building a mortgage calculator or PWA with offline only mode. If you need server-side logic as well, you can use the --hosted flag, which will include the server-side pieces in the generated scaffold.
What impressed me is how well Microsoft documented the pros and cons. They are clearly stated in the documentation and help make decisions.
The blazorwasm --hosted option is what I wanted to see. Continuing with the chat tutorial, I learned how to use message passing with SignalR -- microsoft’s version of ActionCable which allows easy communication via websockets. This is what it looks like:
// Hubs/ChatHub.cs
// ...
namespace BlazorSignalRApp.Server.Hubs
{
    public class ChatHub : Hub
    {
        public async Task SendMessage(string user, string message)
        {
            await Clients.All.SendAsync("ReceiveMessage", user, message);
        }
    }
}
The above code uses a hub, which is similar to a channel in Action Cable. The chat hub we created provides an interface to send data back to all connected clients (chat users).
In the code below, we call this SendMessage method as a response to the user clicking send in their browser. It will then broadcast the message to all other users including the message author. This will then be received in the on(“ReceiveMessage”) block and re-render the view with the new message. Note the re-render only happens on the client-side since we are using the WASM version, thus it is closer to how React or Vue.js work..
// Pages/Index.razor
//...
<div class="form-group">
    <label>
        User:
        <input @bind="userInput" />
    </label>
</div>
<div class="form-group">
    <label>
        Message:
        <input @bind="messageInput" size="50" />
    </label>
</div>
<button @onclick="Send" disabled="@(!IsConnected)">Send</button>

<hr>

<ul id="messagesList">
    @foreach (var message in messages)
    {
        <li>@message</li>
    }
</ul>

@code {
    private HubConnection hubConnection;
    private List<string> messages = new List<string>();
    private string userInput;
    private string messageInput;

    protected override async Task OnInitializedAsync()
    {
        hubConnection = new HubConnectionBuilder()
            .WithUrl(NavigationManager.ToAbsoluteUri("/chathub"))
            .Build();

        hubConnection.On<string, string>("ReceiveMessage", (user, message) =>
        {
            var encodedMsg = $"{user}: {message}";
            messages.Add(encodedMsg);
            StateHasChanged();
        });

        await hubConnection.StartAsync();
    }

    Task Send() =>
        hubConnection.SendAsync("SendMessage", userInput, messageInput);

    public bool IsConnected =>
        hubConnection.State == HubConnectionState.Connected;


    public void Dispose()
    {
        _ = hubConnection.DisposeAsync();
    }
}
And that is it. Short and sweet.
API
Going beyond the simple chat example, to creating a full fledged business application will require us to either build an API or use the blazor-server to call our data services directly.
Continuing with the webassembly version will force us to build either an HTTP based API (REST/Graphql), or explicitly use Websockets with SignalR as we did above. We will then have to do it for each action/resource in our app.
Our other option is to start with the blazor-sever instead. In that case, we could skip writing the API completely. We will call data directly like we would if we wrote a traditional server-rendered only web application. Blazor-server gives us a reactive model, where user events cause a re-render of server view components with diffs being sent down from the server back to the browser, similar to stimulus_reflex and phoenix live_view.
Thus the main advantage of the blazor-server approach is saving us time by not having to write an API layer + tests for that layer. The main disadvantage is a potential UI latency due to network connection (especially challenging if our audience is global) and server costs. In addition, the mental model of reactive-server rendered can be challenging. It will require maintaining UI state on the server, which can feel foreign.
Based on this, blazor-server seems like a good starting point for most projects as it allows us to build things quickly. This is probably also the reason it is the default recommended way when you get started with blazor. Later on if the drawbacks of this approach start being too painful, we can switch certain features (or all features) to using the blazor-wasm with our own API.
Entity Framework
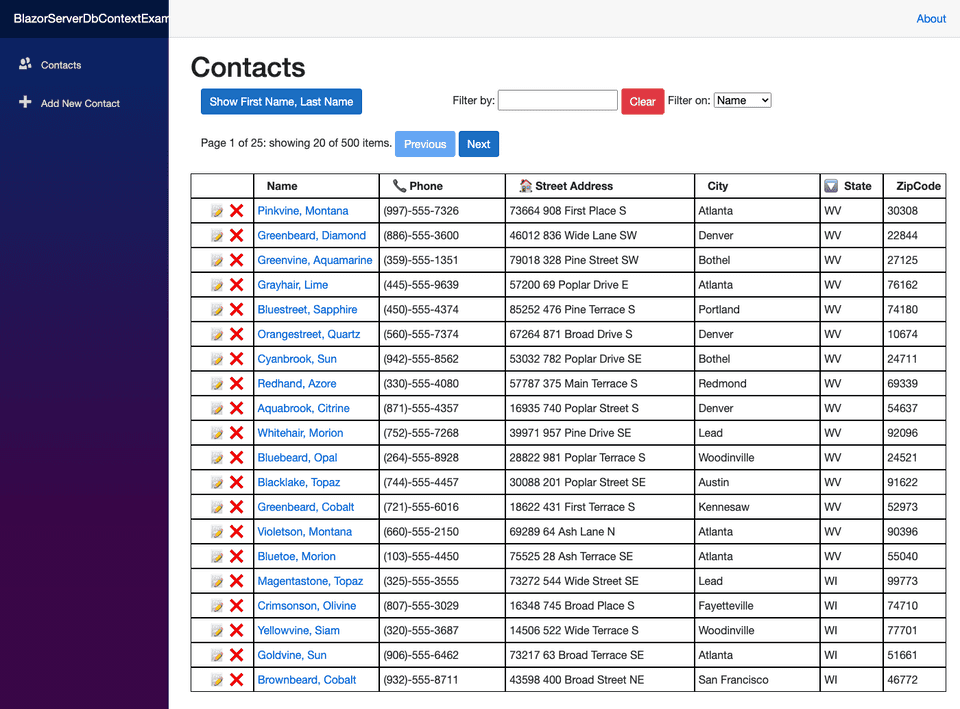
Next let’s look at how we can persist data to a database. The Entity framework is the active_record of the .net world. Knowing what I know now, I would first learn the fundamentals of EF and use the blazor server EF Core article.
To skip a lot of boring setup, let’s just use the sample code in the second article. You can use the ghclone tool to clone only that example.
ghclone https://github.com/dotnet/AspNetCore.Docs/tree/master/aspnetcore/blazor/common/samples/3.x/BlazorServerEFCoreSample/BlazorServerDbContextExampleRename it
mv BlazorServerDbContextExample BlazorContactsNow let’s take a look inside.
// Data/Contacts.cs
//...
namespace BlazorServerDbContextExample.Data
{
    public class Contact
    {
        public int Id { get; set; }

        [Required]
        [StringLength(100, ErrorMessage = "First name cannot exceed 100 characters.")]
        public string FirstName { get; set; }

        //...
   }
}
This model looks very similar to what you would see in rails. There are even validations using decorators. Unlike rails, you get the help of intellisense autocomplete to find them.
You can find the db schema in the ContactContext:
// Data/ContactContext.cs
namespace BlazorServerDbContextExample.Data
{
    public class ContactContext : DbContext
    {
        public DbSet<Contact> Contacts { get; set; }
        // ...
    }
}
If you declare additional models you would add them here. You can then use the following to create a migration and migrate the database. Dot net uses the database context and figures out the changes needed to be applied. You just need to run:
dotnet ef migrations add AddLocations # generates the changeset for need to update the db
dotnet ef database update # migrates existing database
Here is an example migration for another project
// Migrations/20200907074428_InitialCreate.cs
namespace RazorPagesMovie.Server.Migrations
{
    public partial class InitialCreate : Migration
    {
        protected override void Up(MigrationBuilder migrationBuilder)
        {
            migrationBuilder.CreateTable(
                name: "Movie",
                columns: table => new
                {
                    ID = table.Column<int>(nullable: false).Annotation("Sqlite:Autoincrement", true),

                    Title = table.Column<string>(nullable: true),
                    ReleaseDate = table.Column<DateTime>(nullable: false),
                    Genre = table.Column<string>(nullable: true),
                    Price = table.Column<decimal>(nullable: false)
                },

                constraints: table =>
                {
                    table.PrimaryKey("PK_Movie", x => x.ID);
                });
        }

        protected override void Down(MigrationBuilder migrationBuilder)
        {
            migrationBuilder.DropTable(name: "Movie");

        }
    }
}
Let’s take a look at the view.
// Pages/AddContact.razor
@page "/add"

@inject IDbContextFactory<ContactContext> DbFactory
@inject NavigationManager Nav
@inject IPageHelper PageHelper

@if (Contact != null)
{
    <ContactForm Busy="@Busy"
                   Contact="@Contact"
                   IsAdd="true"
                   CancelRequest="Cancel"
                   ValidationResult="@(async (success) => await ValidationResultAsync(success))" />
}

@if (Success)
{
    <br />
    <div class="alert alert-success">The contact was successfully added.</div>
}

@if (Error)
{
    <br />
    <div class="alert alert-danger">Failed to update the contact (@ErrorMessage).</div>
}

@code {
    private Contact Contact { get; set; }

    private bool Busy;
    private bool Success;
    private bool Error;
    private string ErrorMessage = string.Empty;

    protected override Task OnInitializedAsync()
    {
        Contact = new Contact();
        return base.OnInitializedAsync();
    }

    private async Task ValidationResultAsync(bool success)
    {
        if (Busy)
        {
            return;
        }

        if (!success)
        {
            Success = false;
            Error = false;
            return;
        }

        Busy = true;

        using var context = DbFactory.CreateDbContext();
        context.Contacts.Add(Contact);

        try
        {
            await context.SaveChangesAsync();
            Success = true;
            Error = false;

            // ready for the next
            Contact = new Contact();
            Busy = false;

        }

        catch (Exception ex)
        {
            Success = false;
            Error = true;
            ErrorMessage = ex.Message;
            Busy = false;
        }
    }

    private void Cancel()
    {
        Nav.NavigateTo($"/{PageHelper.Page}");
    }
}
In the above you can see that instead of having a controller, all the logic to create the contact is embedded as part of the razor component. Through dependency injection we can access the database context and save a new contact.
It attaches the HTML button to ValidationResultAsync callback, which also happens to save the record if it is valid (not great separation of concerns, but easy to fix). Then SignalR will re-render the page as soon as the state changes.
The ability to bind data this way and embed the logic along with the markup makes for some really easy to understand code. Stimulus Reflex in contrast requires separate files making it harder to see the connection between things.
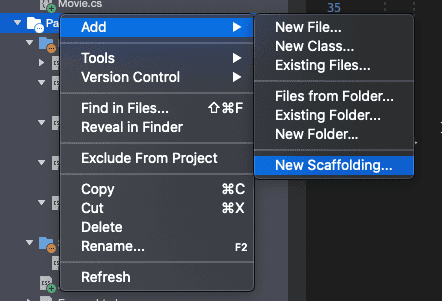
There are even CRUD scaffoldings similar to rails. You just go through a wizard and it will configure all the CRUD pages based on your model. Sadly, there are no specific CRUD bindings for BlazorServer, but we can use this as a starting point for new resources.
UI Framework
To build any real application you need a rich set of UI components to make things go by quickly. Bootstrap comes by default as part of the starter template, but blazor has a large community of high quality ui libraries and I thought I’d try one.
Sadly, it was nearing the end of the weekend so I got limited time on that. Nonetheless, I chose to try out Ant Blazor since I was so blown away by Antd earlier this year. They provide a nice starting project generator that I used:
dotnet new --install AntDesign.Templates::0.1.0-nightly-2008281448 # downloads template
dotnet new antdesign -o MyAntDesignApp2 # create new project
I had a bit of trouble installing it, and had to hunt down the above nightly build number. Just using a ‘*’ like the readme recommends didn’t work.
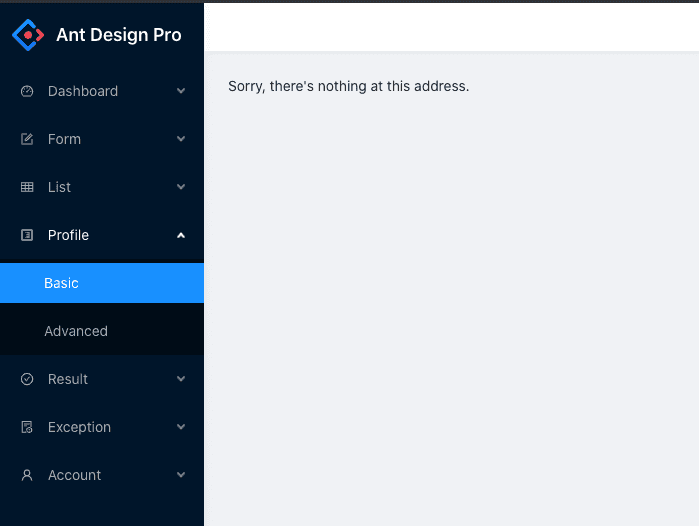
I headed to https://localhost:5001/ there were a lot of untranslated text in chinese. I found it in the json files and quickly google translated everything.
There was no content there sadly. The integration still seemed like a WIP. So looking back I would just use Syncfusion which has some amazing components. Infact, it makes Antd seem like a bare bones library in comparison.
One interesting thing I noticed was that thanks to Antd use of JSON files in the example project, I didn’t need to stop/start the server with every change. The need to stop/start a server and refresh seemed a little primitive from a workflow standpoint. There might be a way to get hot-module reloading working.
Demo Projects
As the weekend was coming to a close and I was running out of development/learning time, I decided to find a few sample projects to tie up all the concepts I learned. They would also serve as a way to code review the architecture and evaluate how it might be like to build a full-on production system with Blazor and .net.
I found this excellent BlazorCrud example. It uses the blazor wasam and a traditional REST api to communicate between client and server. It has an impressive amount of features including a CI/CD pipeline, swagger documentation, file upload and so on. Check out the demo.
After a lot of searching, I found this e-commerce store example of using blazor-server side without needing an API in REST (all other examples I saw would use a dedicated API layer). It uses services to inject the DB context into, and then the services can be used in the page components directly.
A lot more examples are available on this awesome page.
Conclusion
I was extremely impressed by how easy it was to get started and how productive .NET seems to be. The integrated nature of the toolset, the size of the community and the quality UI libraries are incredible. As a ruby developers, it would be incredible to have the following:
- Better documentation
- e2e ui component libraries
- Web assembly for ruby -- not writing js
- Ability to render components on client or server interchangeably
- Co-located logic and markup
On the other hand, it was quite incredible how close things are to the way rails works. It was great to see the rails community is on a similar path with Stimulus Reflex and view_components. As a community I hope we show more respect to .net and use it as inspiration.
Finally, spending time on finding good sample projects after understanding the basics is a powerful way to find out how everything connects. To that end, I would like to see more open source examples of rails view_compoents and stimulus reflex.
Now it is your turn. I challenge you to spend a weekend trying this out. You might just learn something. I sure did. If you do, please share your experience here, maybe even write a blog post about it. If you link it here, I promise I’ll read it.


