Nano 3 Labs started as a distributed team of skilled developers. I was still unsure whether I would stay in Vancouver or move away elsewhere. The idea of being a digital nomad appealed to me and I wanted to keep this option open for myself and anyone else I worked with.
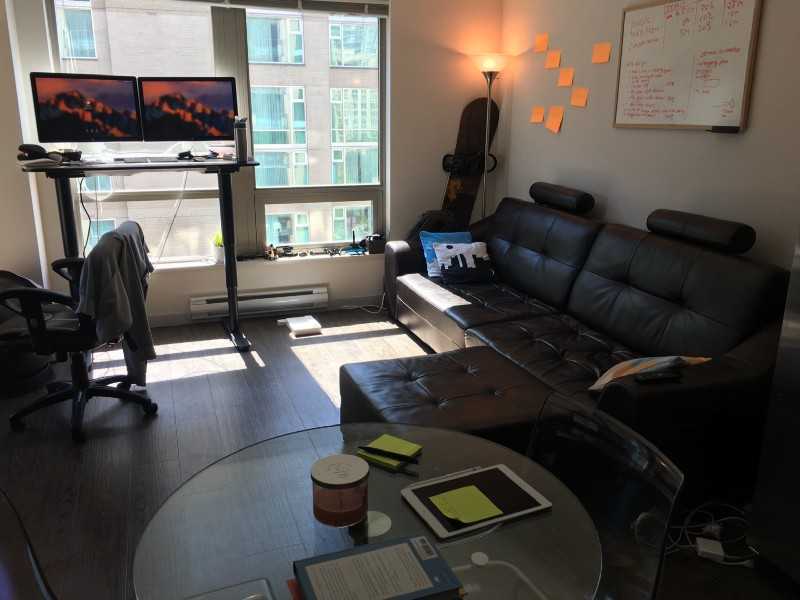
So I did what any remote developer would: I set up a home office. I bought a nice sit/stand desk from IKEA, put my two monitors on it and installed the fastest internet I could get.
It worked amazingly well and we were able to work successfully as a team for almost a year.
As I started working on PictureThat the home office was a great escape that let me experiment on things in peace. Until, as I was gearing up to launch PictureThat, I decided it was time to get some help.
As I found a few people to help build the app while I focused on marketing and product design/direction it became clear distributed was just too slow. (?)
We decided to try out a co-working space for a day and see how things would go. It blew our minds how fast we were able to articulate ideas and make decisions. Within the first hour of working in the same space we discussed a new direction for the company and how we could accomplish it. It all started with a small idea and snowballed.
We were hooked. But, as soon as we looked at what it would take to get us all in the same space, we were less thrilled about the cost. As the day was coming to an end, I thought of a crazy idea: Why not convert my 1-person remote office into a 4-person office?
We started by putting a dinning table and my standing desk together in the middle of the room.
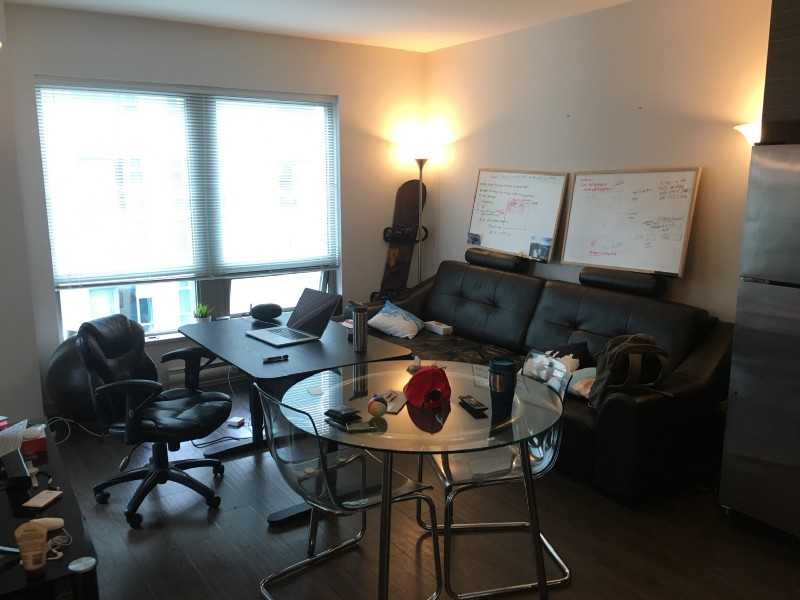 Step 1: Put standing desk + dining table together
We used that for a day and realized we needed comfier chairs and a better table. So we decided to try out the IKEA app to see what things would look like before we went on a quick shopping trip.
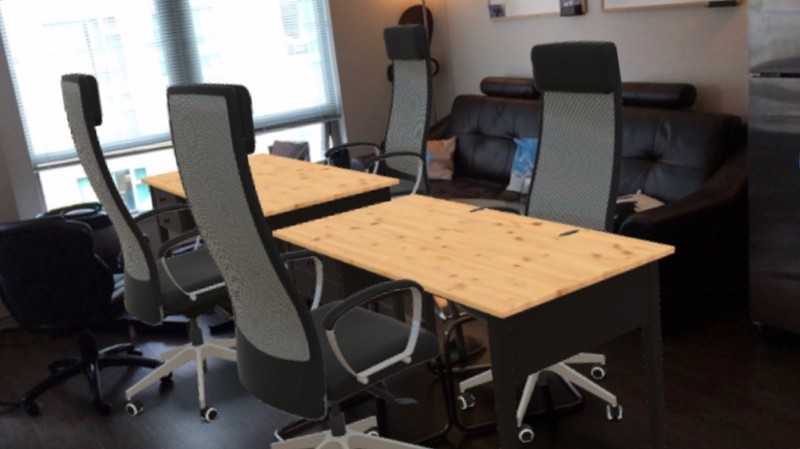 Trying virtual furniture using IKEA’s App
Unfortunately, the IKEA app didn’t have the furniture we wanted, so we had to try the best alternative. Luckily they had the table I needed so we went there and bought another table.
We also wanted to have more comfortable chairs, so we tried Craiglist and couldn’t find anything we liked. We then went to the Costco website and bought 4 chairs. The same type of chair I’ve been using for almost 5 years for the home office.
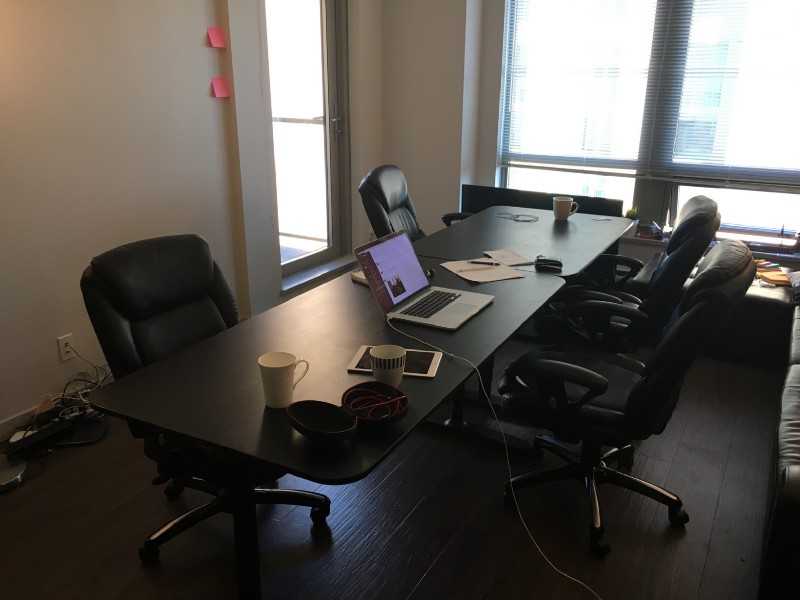 Office Post IKEA Trip & Costco Delivery
A few nights later as I was demoing our app PictureThat I was asked if it could be used for planning what to put on a wall when you move in to a new place. I said it could be, even though it was more intended for planning what prints and art pieces should go on the wall.
The next day I decided to try our app for the purpose of redecorating the office. I started by taking a picture of the whiteboards, TV, soundbar and an engineering diagram I had. Next I opened each image in Photoshop Express on my phone, cropped and straightened it to be flat and levelled.
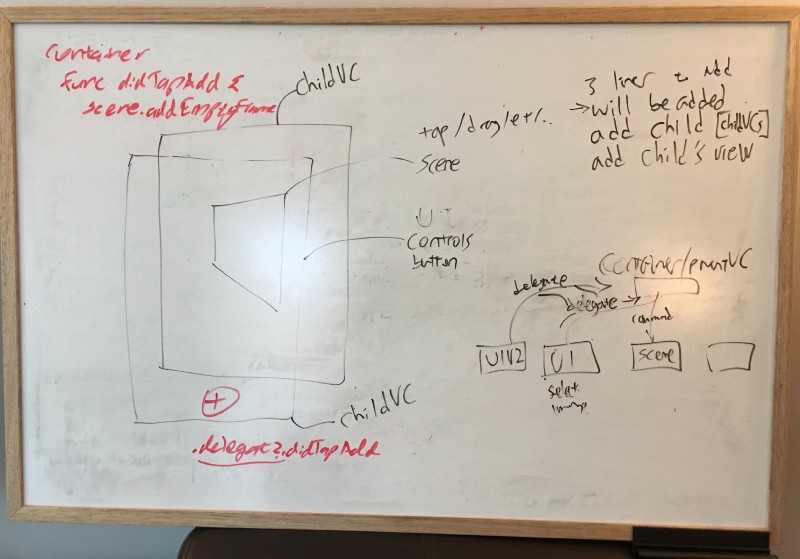 Whiteboard Before Photoshop
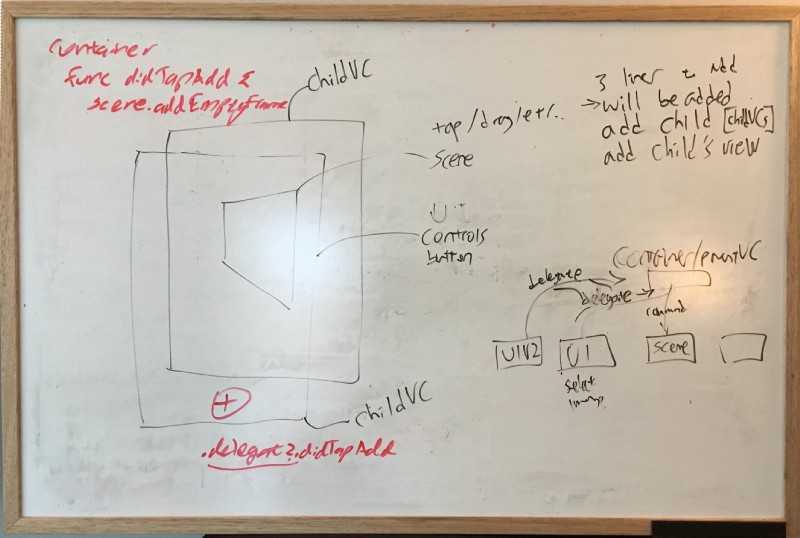 Whiteboard After Photoshop
Finally I created an Album on my phone called Office Renovation and added all the edited photos into it so I could easily find them in the PictureThat app.
From that point it was as easy as opening PictureThat on my phone and placing the different items where I wanted them to be to get a sense of what things would look like.
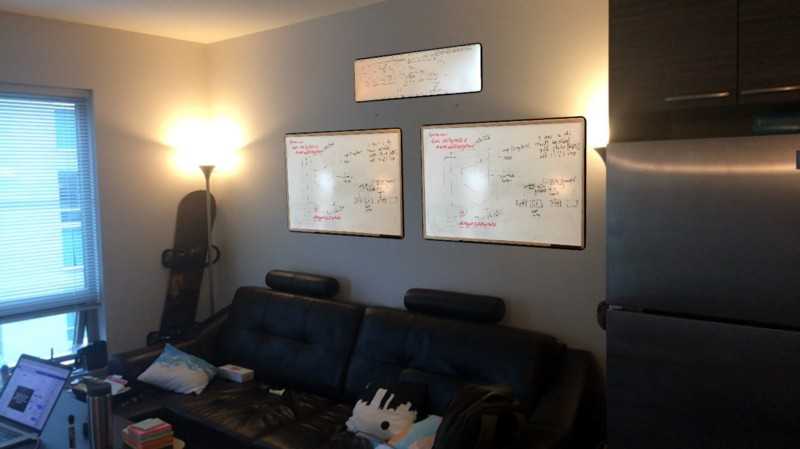 Testing Two Whiteboards and Engineering Diagram above them
I quickly discovered I should leave a gap between the whiteboards instead of forcing them together, which didn’t look as good. I also found out while the whiteboards had legible content, the diagram had text that was too small to read if hung above them. So I hung the whiteboards and didn’t bother with the diagram.
Next, I looked at the possibility of hanging the TV. What would it look like if we saved space by removing the stand and hanging the TV?
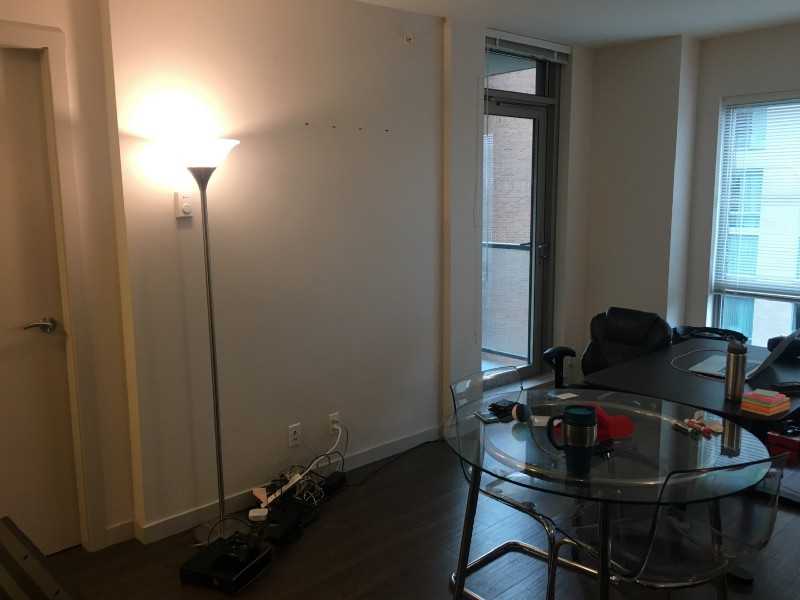 Removed the TV & TV Stand
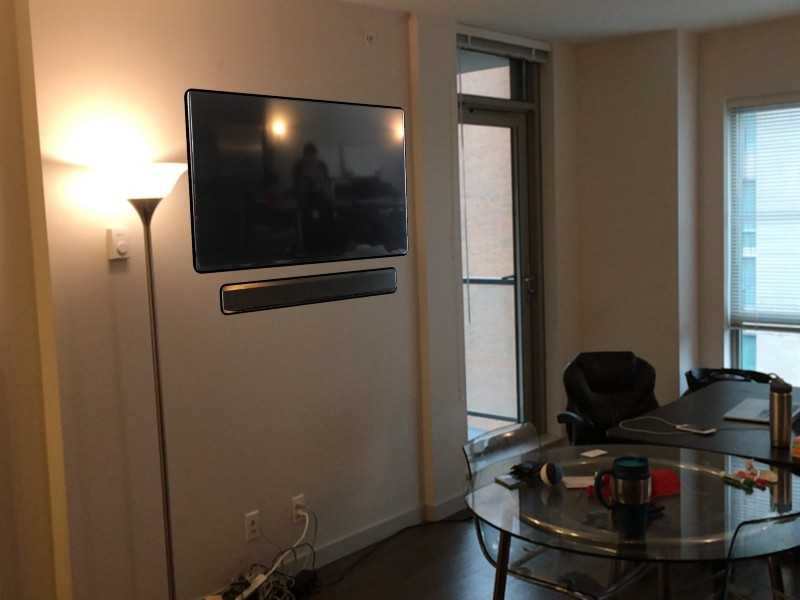 Testing TV Placement using PictureThat App
Looks great! Time to get a TV Wallmount from BestBuy, so we did. After a bit of fiddling around we figured out what needed to be done to hang it. Next we needed to decide where exactly to place the TV. Since PictureThat was never meant for figuring out where to hang TV, I tried a few other apps for that purpose. They all sucked.
We found our app was more accurate than all of the other ones in giving the correct representation of the TV dimensions and what it would look like if we were sitting on the couch/desk and looking at it.
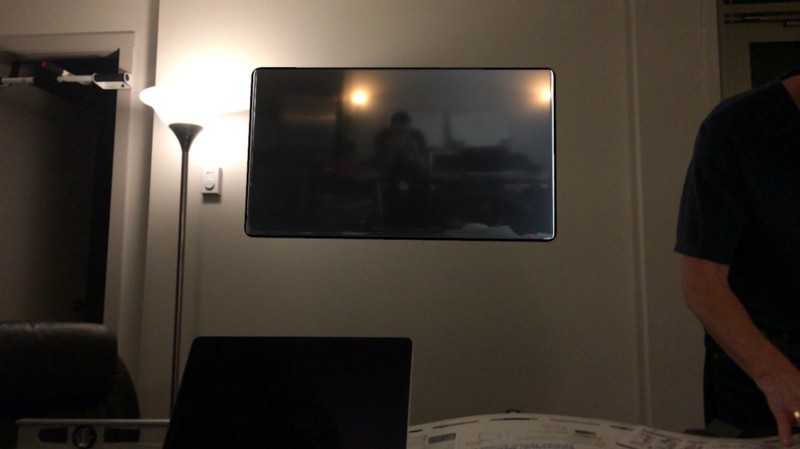 Trying to decide where to place the TV Wall Mount
After we were happy with the positioning of the TV, we hung the wall mount and voila we now have our own awesome office.
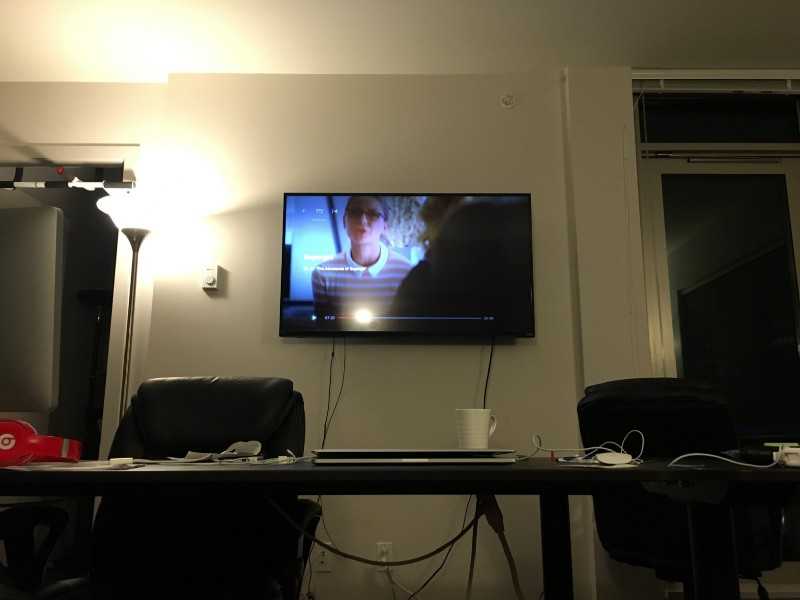 TV Hung and Connected
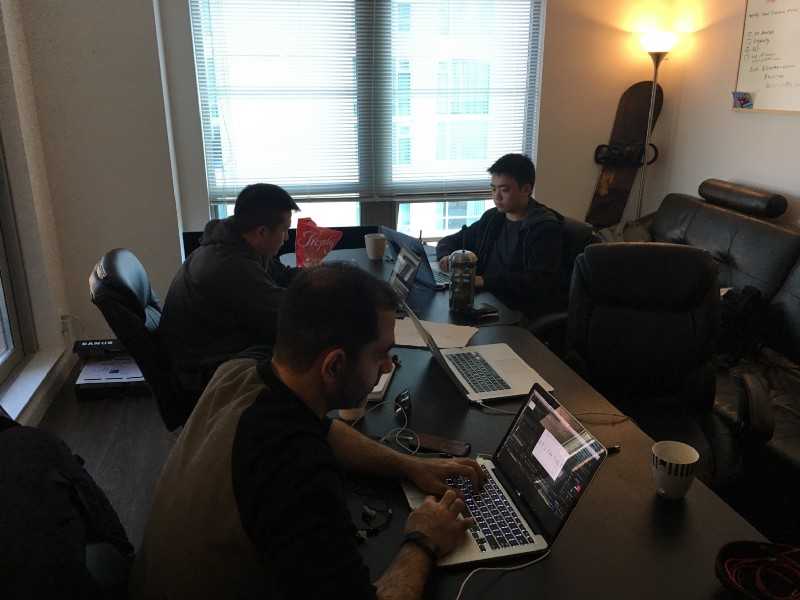 Final Startup Office :)
Hope you found this post useful. You can find our app on the Apple App Store or sign up for our mailing list for the Android version.

